Creating a multi-step campaign with OptinCraft lets you guide prospects through a structured journey from first interaction to conversion, using targeted, automated steps. By combining opt-in forms, conditional logic, and follow-up actions, you can deliver the right message at the right time. Multi-step campaigns help increase engagement, personalize user experiences, and improve conversion rates by moving users forward based on their behavior and choices.
Create a Multi-Step Campaign with OptinCraft #
Here are the steps to take to create a multi-step campaign.
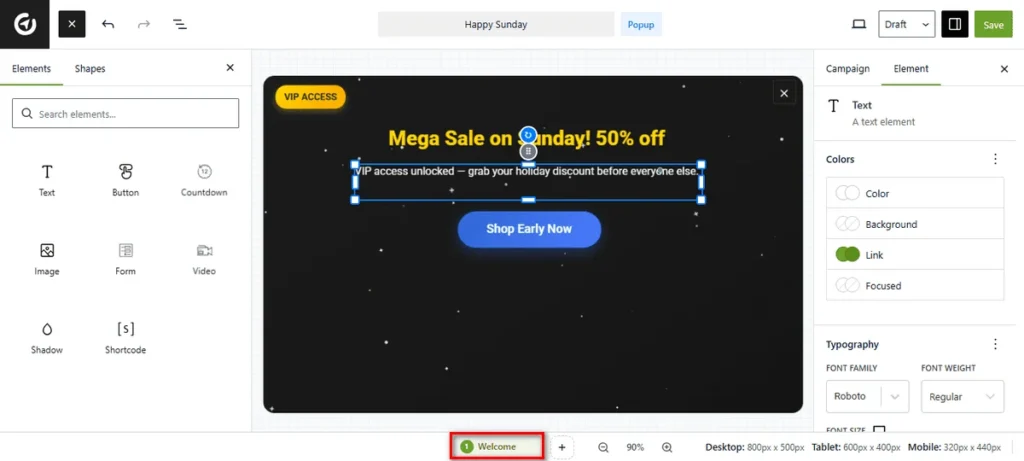
First, create a new campaign or open an existing one inside the Canvas Builder. Look at the bottom of the screen, where you will see your current step labeled (e.g., Welcome).
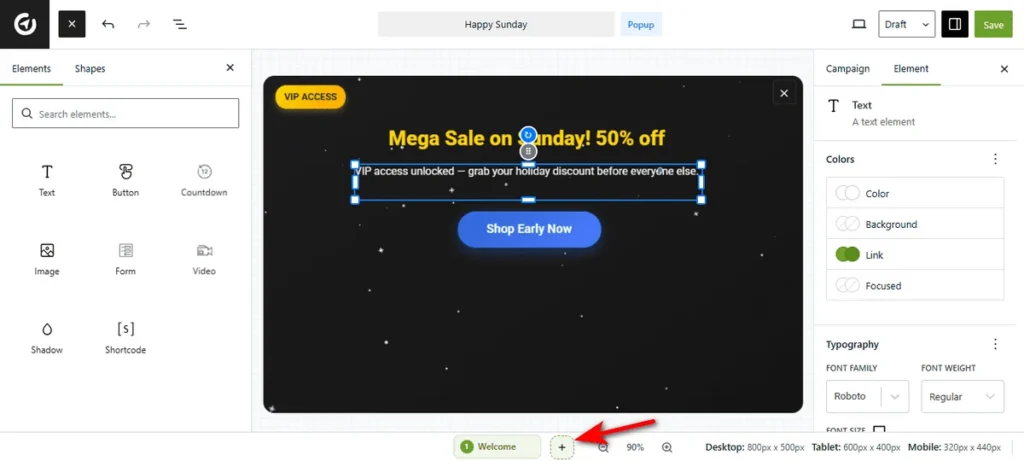
Design the 1st step according to your requirements, and once you’re done, click the + (Plus) icon next to the active step tab to add another step to your multi-step campaign.
Now, you’ll see a modal window titled “Add Step“. Type a clear name for this new section, such as “Step 2” or “Thank You“. Then, click the ‘Add’ button to generate a new blank step.

Connect Your Steps #
Now that you’ve created a blank step, but that is not enough; you must tell OptinCraft how to send visitors there.
You can trigger the next step using a Button, a Form, or a Countdown timer.
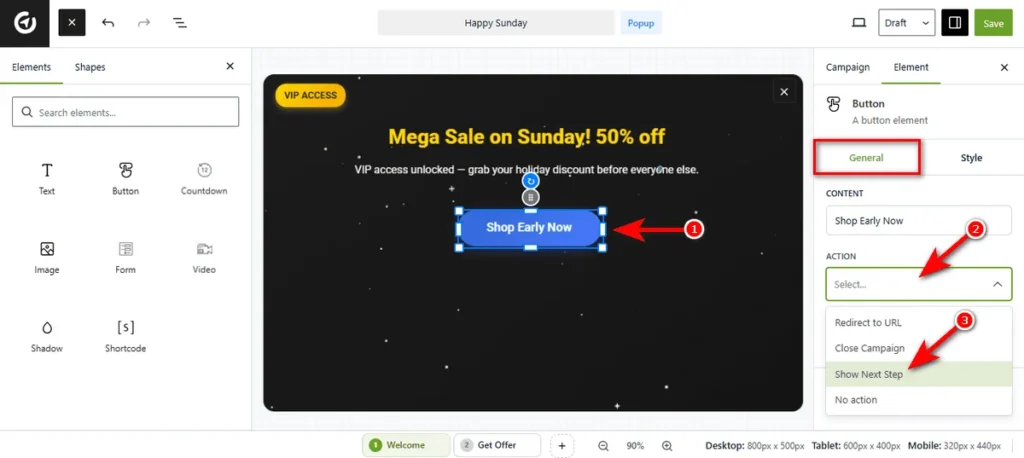
Option 1: Use a Button #
This is best for segmenting users before showing a form.
- Click on the Button element in your canvas to open its settings.
- Head over to the Action dropdown menu in the right sidebar.
- Choose Show Next Step.
- Now, clicking this button will instantly advance the user to the next screen.
Additionally, you can toggle the “TRACK CONVERSION” switch to On if you want this specific click to count as a ‘Conversion’ in your analytics.
You can also turn on the “SHOW ICON” button to add a visual icon to your button. Once enabled, hit the Select Icon button to choose a symbol that matches your text (e.g., an arrow or checkmark).
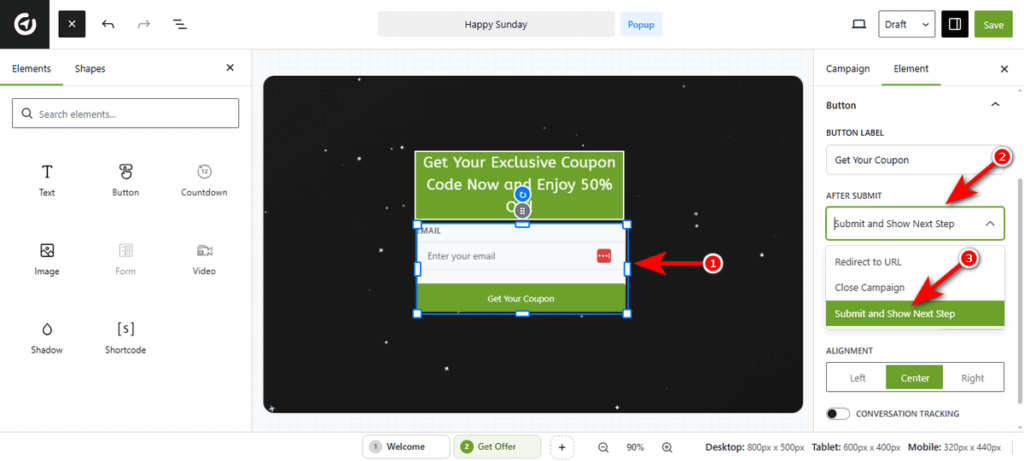
Option 2: Utilize a Form #
This is perfect for collecting a lead in Step 1 and showing a “Download Now” button or “Thank You” message in Step 2.
- Click on your Form element to activate the settings.
- Locate the After Submit dropdown menu.
- Select Submit and Show Next Step.
- This ensures the data is saved before the user moves forward.
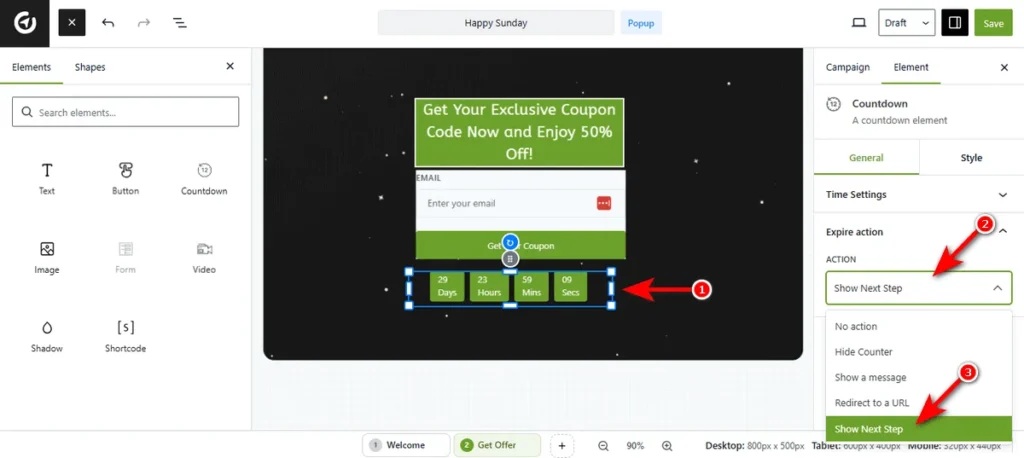
Option 3: Use a Countdown #
You can auto-switch the pop-up content when a timer runs out (e.g., switching from a “50% OFF” offer to a “Sale Ended” message).
You can set a timeout for your target users. Once the timer ends, users will automatically proceed to the next step.
- Click on the Countdown element.
- Expand the Expire action menu settings.
- Select Show Next Step from the Action dropdown.
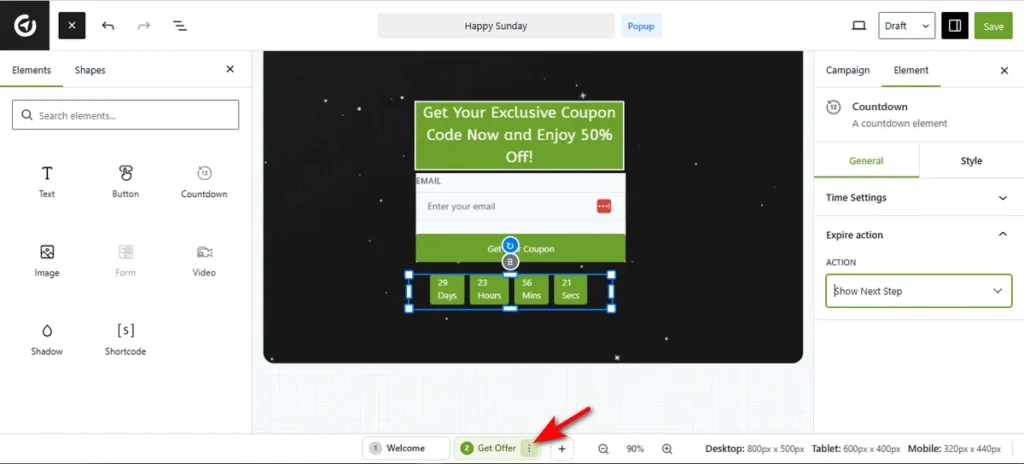
Manage Your Steps #
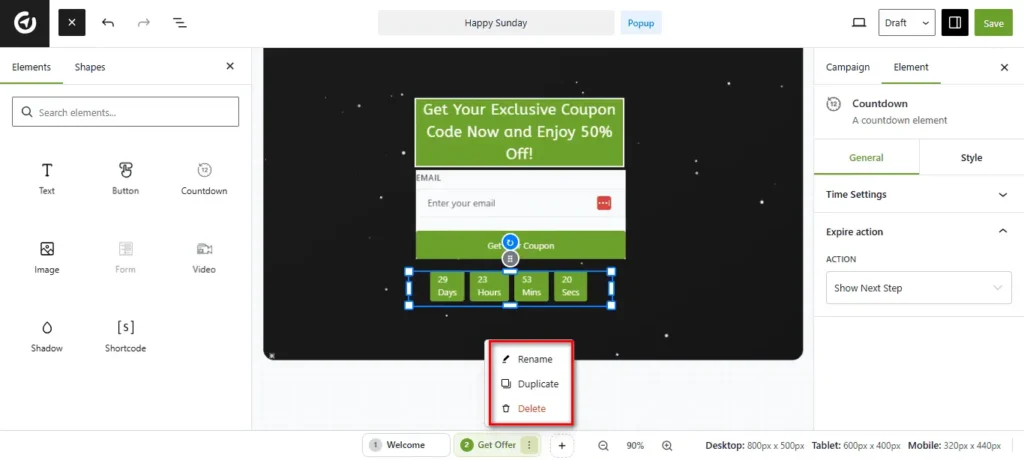
You can keep your campaign organized by renaming or copying steps. To do that, simply click the three-dot icon on any step tab at the bottom bar.
Then, select ‘Rename’ to give the step a descriptive label. Choose ‘Duplicate’ to create an exact copy of the current design. This saves time if your second step looks similar to the first. Select ‘Delete’ to delete a step.
So, that’s how you build a high-converting multi-step funnel in OptinCraft.


