Driving traffic to your website is one thing but getting visitors to take action is another. Many users leave without subscribing, signing up, or engaging with your offers.
When visitors leave without converting, you lose potential leads and revenue. Over time, this leads to poor campaign performance, rising marketing costs, and missed growth opportunities.
OptinCraft makes it easy to create targeted popup campaigns that capture attention at the right moment. With flexible triggers, ready-made templates, and simple customization, you can launch high-converting popups quickly.
In this guide, we’ll show you how to create a popup campaign using OptinCraft step by step. So, without further ado, let’s dig deeper.
What Is OptinCraft?
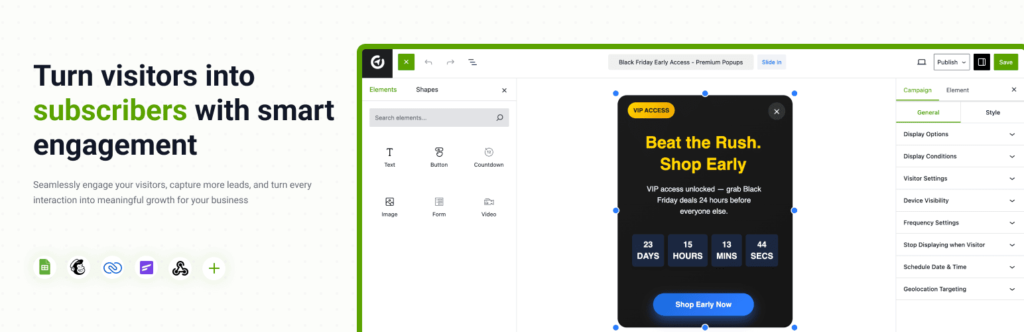
OptinCraft is a WordPress popup plugin that helps you create and manage high-converting popups without any coding skills. It provides a visual drag-and-drop editor and a variety of popup types, including lightbox, slide-in, floating bars, and sidebars, allowing you to design campaigns that capture leads, promote offers, and boost engagement directly on your website.
With OptinCraft you get:
- Easy visual design tools to build custom popups quickly
- Responsive layouts that work on desktops, tablets, and mobile devices
- Targeting and trigger options to display popups at the right time
- Built-in analytics to track impressions, clicks, and conversions
In short, OptinCraft makes it simple to turn website visitors into subscribers or customers using effective popup campaigns.
How to Create a Popup Campaign Using OptinCraft: A Step-By-Step Guide
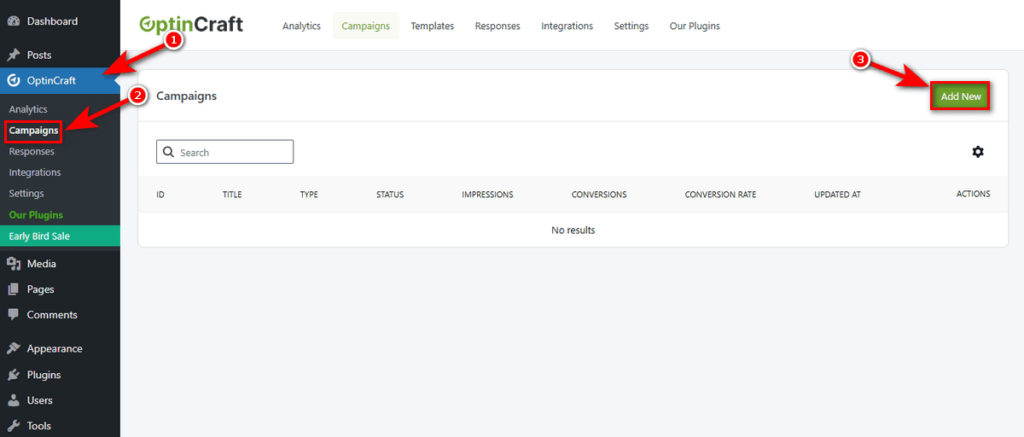
At first, log in to your WordPress Admin Dashboard. Then, navigate to OptinCraft from the left sidebar.
Then, click on Campaigns to open the campaign management dashboard. Finally, select Add New in the top-right corner to begin creating a new popup campaign.
WordPress Admin Dashboard → OptinCraft → Campaigns → Add New
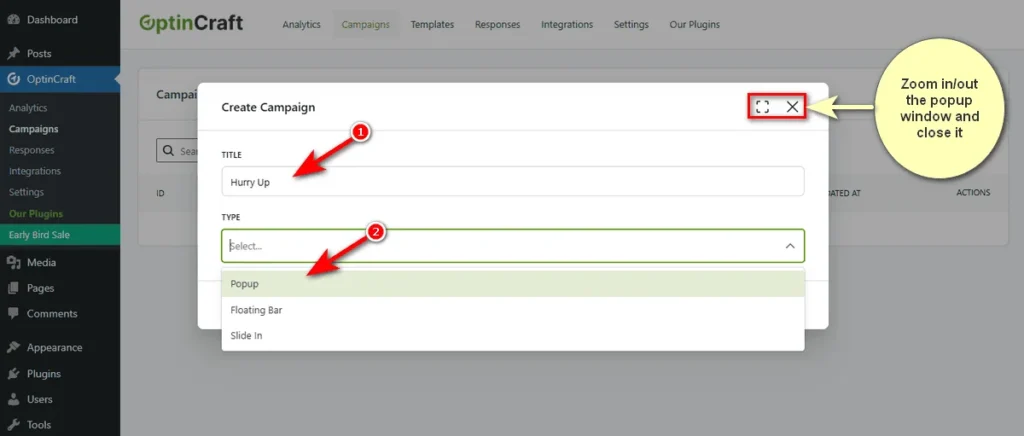
Now, you’ll notice a popup window, featuring a ‘TITLE’ field and a ‘TYPE’ dropdown menu. This setup modal allows you to define the identity and structure of your new marketing asset.
1. Title: Give your campaign a unique, descriptive name. This is for your internal reference only.
2. Type: Select the display style that fits your goal. The dropdown offers distinct formats:
- Popup: A standard center-screen modal, perfect for high-priority offers that need maximum attention.
- Floating Bar: Ideal for announcements or ongoing sales.
- Slide In: A box that slides in from the corner, offering a non-intrusive way to engage visitors without blocking content.
Once you have written a campaign name and selected the campaign type, hit the ‘Create’ button to start building a new campaign with OptinCraft.
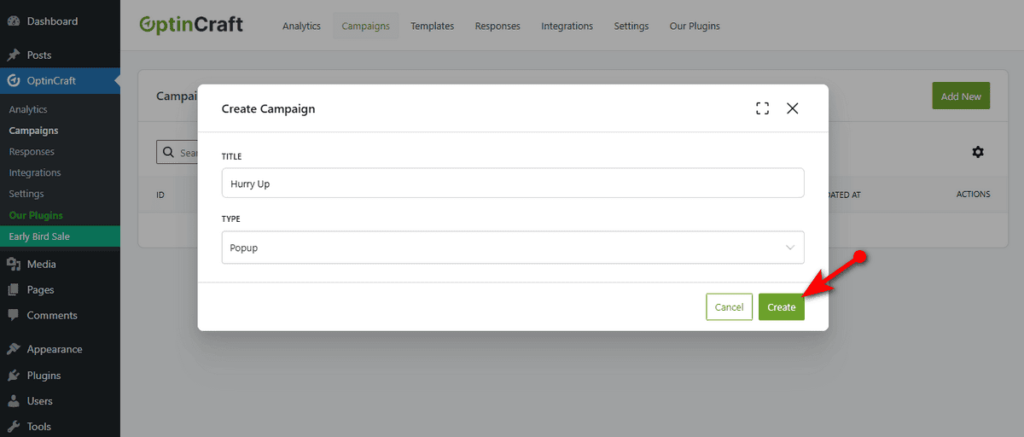
You will now open the Canvas Builder, where you can design your campaign as you want.
The Canvas Builder
OptinCraft includes a free-form, drag-and-drop builder. It functions like a graphic design tool, giving you complete freedom to place elements exactly where you want them.
This builder has four major options: Elements Panel, Shapes Panel, Canvas, and Campaign Settings. Below are details about each.
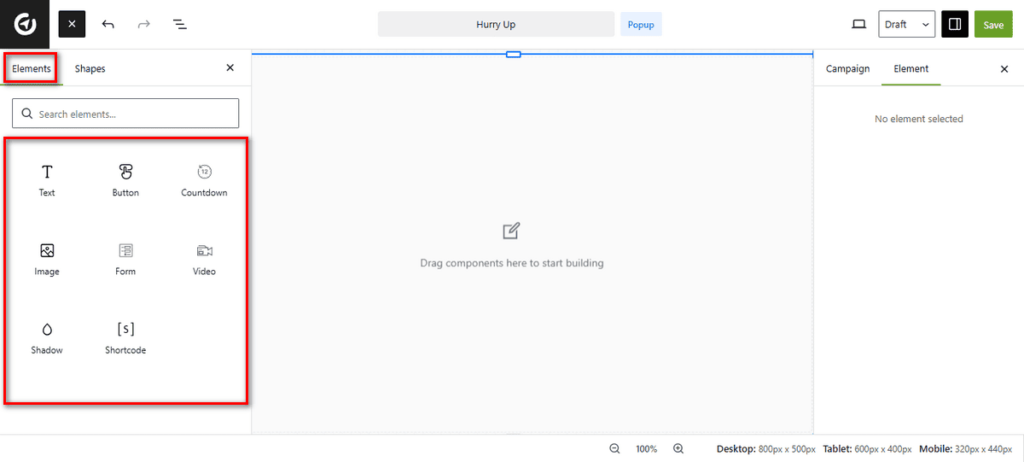
1. The Elements Panel (Left Sidebar)
- Shortcode: This versatile element lets you display dynamic content from other plugins or custom code snippets directly inside your popup.
- Drag & Drop: simply click and hold an element, then drag it onto the center canvas to add it to your design.
- Search: Use the search bar at the top to find specific elements without scrolling quickly.
- Text: This element allows you to add headlines, descriptions, or any written content to your popup.
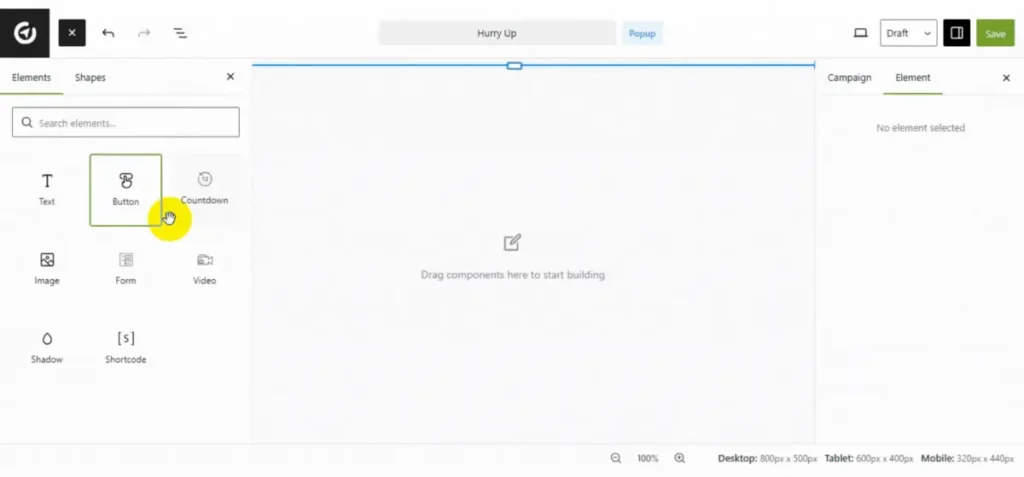
- Button: This lets you create a clickable call-to-action (CTA). You can link it to a checkout page, a signup form, or an external website.
- Countdown: This adds a live timer to your campaign. It is perfect for creating urgency during flash sales or limited-time offers.
- Image: It lets you upload and display graphics, product photos, or logos to make your popup visually appealing.
- Form: This element inserts input fields to capture visitor data, such as names and email addresses. It is essential for lead generation.
- Video: It allows you to embed videos directly into your popup. It is useful for product demos or welcome messages.
- Shadow: This adds visual depth to your campaign, helping it stand out from the background content.
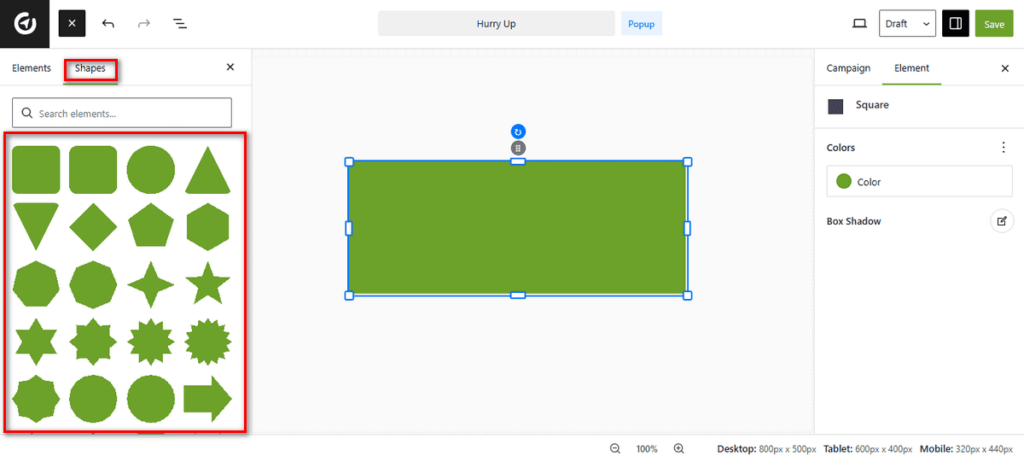
2. Shapes Panel
The Shapes panel gives you the creative freedom to add these design elements instantly, helping you highlight key areas and guide the visitor’s eye.
It includes various geometric forms, including squares, circles, triangles, stars, and arrows. You can use these to build custom backgrounds, frame your content, or create directional cues that point toward your Call to Action (CTA).
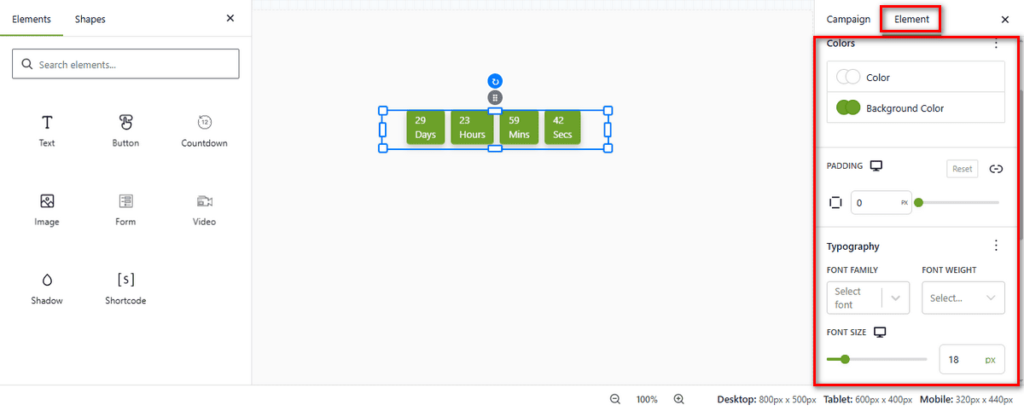
These shapes are fully customizable. Once you drag a shape onto the canvas, the Element tab on the right sidebar activates (as seen in the screenshot).
Here, you can adjust the Color to match your branding and apply a Box Shadow to add depth and separation from the background.
3. The Canvas (Center Area)
This is your live workspace. It shows a real-time preview of your popup.
- Grid System: The canvas uses smart guides (blue lines) to help you align elements precisely.
- Visual Editing: You can click on any element inside this area to edit its text, resize it, or move it around.
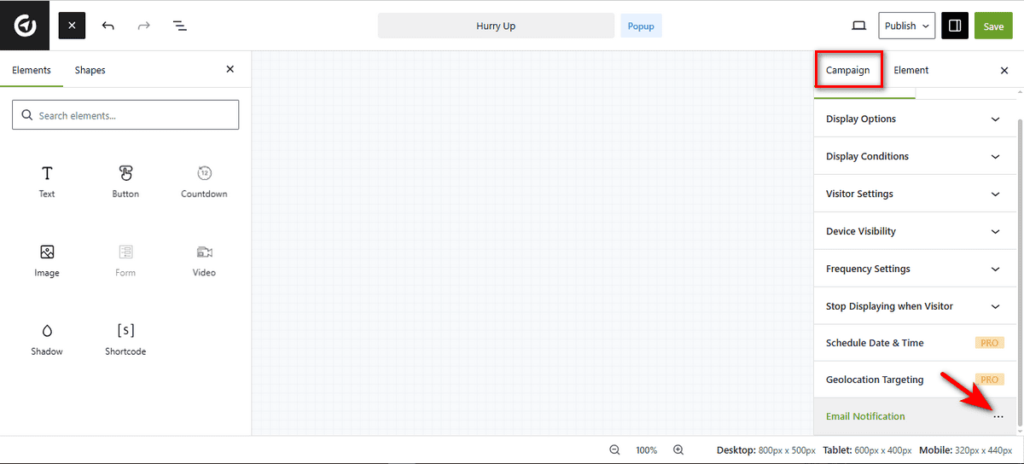
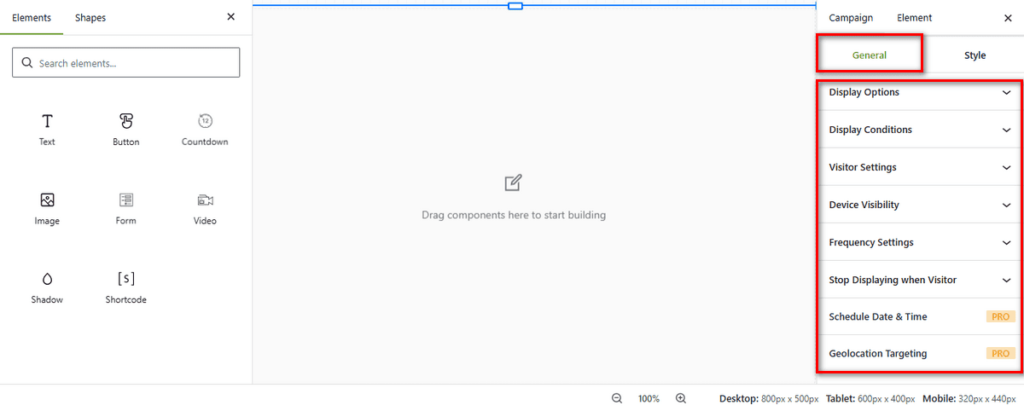
4. Campaign Settings (Right Sidebar)
This panel acts as the brain of your campaign. It controls when, where, and to whom your popup appears.
General Tab: This tab holds the global settings for the entire campaign.
- Display Options: Controls the position and animation of the popup.
- Display Conditions: Lets you control how and where the campaign appears (e.g., on certain pages).
- Visitor Settings: Allows you to target specific user types, like new vs. returning visitors.
- Device Visibility: Lets you hide the campaign on specific devices (e.g., hide on mobile).
- Frequency Settings: Controls how often the popup reappears to the same user.
- Schedule Date & Time (Pro): This feature allows you to automate your campaigns by setting specific start and end dates.
- Geolocation Targeting (Pro): This setting lets you restrict popup visibility to specific countries, ensuring your message reaches only the most relevant regional audience.
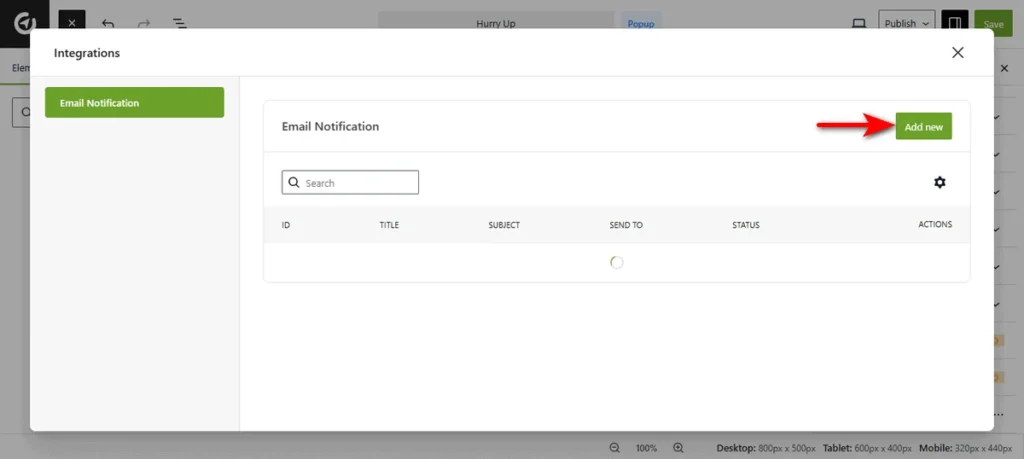
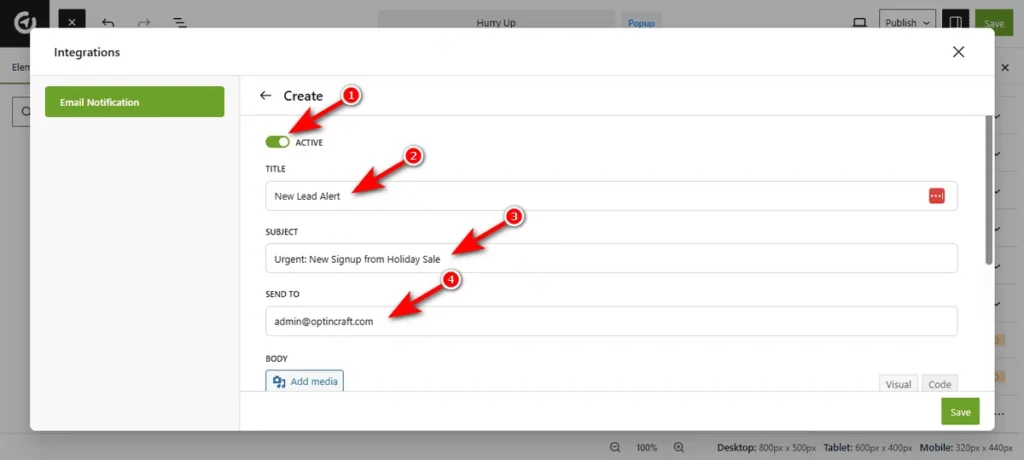
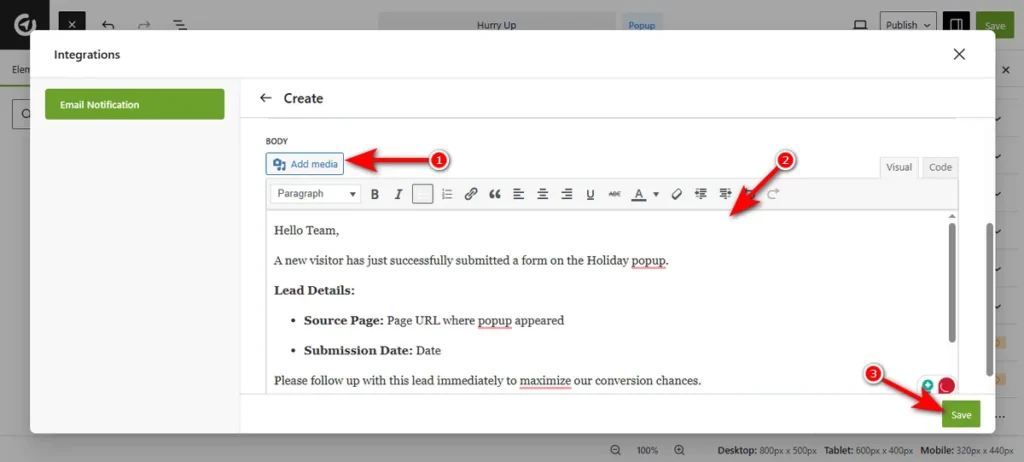
- Email Notification: This setting lets you create custom email notifications for your target audience.
Element Tab: When you click on a specific item in the canvas (like a button), this tab becomes active. It lets you style that specific element’s settings, colors, fonts, padding, borders, etc.
That’s how you create a popup campaign with OptinCraft. Once you’re satisfied with the design, you can go ahead and publish it.
Final Thoughts
Creating a popup campaign starts with understanding your audience and defining a clear goal, whether it’s collecting emails, promoting an offer, or driving engagement. Designing an attractive, well-timed popup that aligns with your website’s style ensures it grabs attention without annoying visitors. Customizing the content, layout, and triggers allows you to make your campaign both effective and user-friendly.
Once your campaign is set up and tested, publishing it is just the beginning. Monitor its performance, analyze visitor behavior, and make adjustments to improve results over time. With careful planning and ongoing optimization, a well-crafted popup campaign can significantly boost conversions and grow your audience.