Submitting an iOS app to the App Store is not the final step of app development. It is the point where Apple evaluates whether your app is ready to be distributed to millions of users.
For first-time developers, the App Store review process can feel unpredictable. You upload your build, complete the metadata, click Submit for Review, and then wait. If Apple finds an issue, your app may be rejected with a reference to one or more App Review Guidelines.
The good news is that App Store review becomes much easier to navigate when you understand what Apple checks, what happens after submission, how long the process usually takes, and what to do if your app is rejected.
This guide explains the complete App Store review process, from preparing your app and submitting it through App Store Connect to handling rejection, communicating with App Review, and getting your app published.
What Is The App Store Review Process?
The App Store review process is Apple’s evaluation of an app before it becomes available to users on the App Store.
Apple reviews apps, updates, app bundles, In-App Purchases, subscriptions, In-App Events, and other eligible submissions to help maintain a safe, reliable, and trustworthy App Store experience.
The review is not limited to whether your app launches successfully. Apple can evaluate technical functionality, content, privacy, security, user experience, business models, metadata, payments, and other aspects covered by its guidelines.
Apple’s App Review Guidelines are divided into major areas covering safety, performance, business, design, and legal requirements. The guidelines are also a living document, meaning requirements can evolve as new types of apps and technologies appear.
That is why an app that technically works can still fail App Review.
How The App Store Review Process Works
At a high level, the process looks like this:
Build your app → Test it → Create the App Store listing → Complete review information → Select your build → Submit for Review → Waiting for Review → In Review → Accepted or Rejected → Publish
The important thing to understand is that uploading a build does not automatically send it to Apple for review. In App Store Connect, you first select the appropriate build and add it to a submission. The app enters Ready for Review, and you then click Submit for Review. Once Apple begins reviewing it, the status changes to In Review.
Each platform is reviewed separately. For example, the status of an iOS submission does not determine the status of a separate macOS or other platform submission.
Step 1: Build and test your app
The review process actually starts before you open App Store Connect.
Your app should be stable, functional, and ready for real users before you submit it. Apple specifically recommends testing for crashes and bugs and making sure the app functions as intended.
This sounds obvious, but many rejections happen because developers submit an app that works in their own environment but fails when tested by someone who does not have their exact setup.
Test the complete user journey.
A user should be able to launch the app, navigate through the important screens, create an account if required, access the core functionality, complete purchases if applicable, and use the features described in the App Store listing.
If your app requires a server, API, third-party service, special configuration, or hardware, make sure those dependencies are working during review.
An app that depends on a temporary development server is especially risky. If Apple’s reviewer cannot access the core functionality, the reviewer may not be able to complete the evaluation.
Step 2: Review Apple’s app review guidelines
Before submitting, read the current App Review Guidelines instead of relying on an old checklist or a previous submission.
Apple’s guidelines cover much more than technical bugs. They address areas such as safety, privacy, inappropriate content, user-generated content, business models, payments, subscriptions, intellectual property, advertising, design, minimum functionality, and other requirements.
One important principle is that your app should provide a useful experience rather than simply wrapping an existing website without meaningful mobile functionality.
This is particularly relevant for businesses converting websites into mobile apps.
If your app is essentially a website displayed inside an app shell, you should carefully evaluate whether the mobile experience provides sufficient functionality and value. A native mobile app should feel intentional rather than like a website placed inside an App Store package.
Step 3: Create your app record in App Store Connect
Before uploading a build, you need an app record in “App Store Connect”.
Apple allows you to prepare information such as your app name, description, keywords, screenshots, and other listing details through App Store Connect. You can create the app record before completing the entire development process. However, the app record needs to exist before you upload a build.
Your App Store listing is not just marketing content. It is also part of what Apple evaluates.
Make sure your screenshots accurately represent the current app. Your description should describe what the app actually does. Features mentioned in the listing should be available in the submitted build.
Do not treat metadata as an afterthought.
Step 4: Upload your build
Once your app is ready, upload the build through your development workflow, such as Xcode or another supported process.
You can upload multiple builds to App Store Connect and then select the specific build you want to submit for review.
This is useful because the latest uploaded build is not necessarily the build you want Apple to review.
Before submitting, verify the selected build carefully.
Check the version number, build number, configuration, API endpoints, app icons, permissions, production environment, and any functionality that could behave differently between development and production.
Step 5: Complete app store metadata
Apple requires relevant app information to be complete and accurate before submission.
This includes the information users see on the App Store as well as information Apple may need during review.
Your metadata should accurately describe the app. Avoid making claims that the submitted build does not support.
For example, if your description says users can book appointments, create listings, communicate with businesses, and receive notifications, reviewers should be able to access and test those functions.
A mismatch between the listing and the actual experience can create unnecessary review problems.
Step 6: Complete app review information
One of the most important parts of the submission is the App Review Information section.
If Apple needs a specific account, login credentials, instructions, configuration, or other information to test your app, provide it.
Apple specifically states that missing review information can delay the review process or prevent the app from passing review.
For example, suppose your app requires users to log in before they can access its main functionality.
If you submit the app without providing a working demo account and the reviewer cannot create an account independently, the reviewer may be unable to test the app.
Your review notes should make the testing process straightforward.
Explain how to access the main functionality, especially if it is hidden behind authentication, location settings, special configuration, subscriptions, hardware, or other conditions.
If your app requires special hardware or an environment that is difficult for Apple to reproduce, Apple recommends being prepared to provide appropriate supporting material, such as a demo video or hardware where applicable.
Step 7: Choose your build and add it for review
When your app is ready, open the relevant app version in App Store Connect and verify that the correct build is selected.
You then add the app version for review.
At this point, the app status changes to Ready for Review, but the submission has not yet entered Apple’s review queue. You still need to click Submit for Review.
This distinction is easy to miss if you are submitting an app for the first time.
Step 8: Submit your app for review
After clicking Submit for Review, Apple receives your submission.
The status normally moves to Waiting for Review while Apple has received the submission but has not started reviewing it. When the review begins, the status changes to In Review.
You can monitor the status from App Store Connect.
Apple also sends notifications when the status changes, so you do not need to constantly refresh the dashboard.
How Long Does App Store Review Take?
Apple says that, on average, 90% of submissions are reviewed in less than 24 hours. However, this is an average rather than a guarantee for every submission.
Some apps can take longer.
Complex apps, unusual functionality, incomplete information, repeated guideline violations, or issues that require additional investigation can increase the review time. Apple’s guidelines also note that repeatedly submitting the same unresolved violation or attempting to manipulate the review process can result in longer review times.
So, do not plan an important product launch around the assumption that every review will be completed within a specific number of hours.
Build some flexibility into your launch schedule.
Understanding App Store Review Statuses
App Store Connect provides different statuses that tell you where your submission is in the process.
| Status | What It Means |
|---|---|
| Prepare for Submission | You are still preparing the app information and submission. |
| Ready for Review | Required information is prepared and the app is ready to be submitted, but has not yet been sent for review. |
| Waiting for Review | Apple has received the submission but has not started reviewing it. |
| In Review | Apple is actively reviewing the submission. |
| Accepted | The submitted item has been accepted, although other items in the same submission may still need resolution. |
| Ready for Distribution | The app has been accepted and is ready for distribution, subject to required agreements and release settings. |
| Rejected | Apple did not accept the app or submission. |
| Metadata Rejected | Apple rejected metadata and you need to resolve the metadata issue. |
| Developer Rejected | You removed the app from review and can submit it again later. |
These statuses are documented by Apple and can help you understand whether you need to take action or simply wait.
What Does Apple Actually Check?
Apple does not publish a simple formula showing exactly how every app is evaluated.
Instead, the App Review Guidelines establish broad requirements that reviewers use when evaluating submissions.
i. Functionality and performance
Your app should work as described.
Crashes, broken links, incomplete features, obvious bugs, and functionality that does not work as expected can create problems during review.
Apple recommends testing your app for crashes and bugs before submission.
ii. User experience
Your app should provide a meaningful experience for users.
The interface should be understandable, navigation should work correctly, and the app should not feel unfinished.
This is especially important for apps created from websites. A mobile app should be designed around mobile usage rather than simply reproducing the desktop website experience.
iii. Privacy
Your app needs to handle user data responsibly and comply with Apple’s privacy requirements.
If your app collects personal information, accesses device capabilities, or uses third-party services that process user data, review the applicable Apple requirements before submission.
iv. Payments and In-app purchases
If your app sells digital goods or services, Apple’s payment rules can become particularly important.
Do not assume that because a payment method works technically, it is automatically acceptable under App Store rules.
Review the current Business and In-App Purchase requirements that apply to your business model before submitting.
v. Content
Apple also evaluates whether app content is appropriate and complies with its guidelines.
Apps involving user-generated content, social interaction, gambling, regulated industries, adult content, controversial material, or other sensitive categories may have additional requirements.
vi. Metadata
Your app name, description, screenshots, previews, keywords, and other metadata need to accurately represent the app.
Misleading screenshots or descriptions can create problems even when the underlying software works correctly.
Why Do Apps Get Rejected?
There is no single reason why an app gets rejected.
Sometimes the problem is technical. Sometimes it is missing information. Sometimes the business model conflicts with Apple’s rules. Sometimes the reviewer simply cannot access the functionality they need to test.
Common problems include crashes, incomplete functionality, inaccurate metadata, missing demo credentials, broken links, privacy issues, payment-related problems, insufficient functionality, and failure to follow specific App Review Guidelines.
The important point is that rejection does not necessarily mean you have to rebuild the entire app.
Apple provides the reason for the rejection and identifies the relevant guideline or issue.
What Happens If Apple Rejects Your App?
A rejection means Apple did not accept the submitted app or one or more items associated with the submission.
The next step is to read the rejection message carefully.
Do not immediately upload another build without understanding the issue.
App Review provides information about the rejection, including the guideline involved. You can communicate with Apple through the App Review section in App Store Connect and provide additional information, screenshots, or supporting documents when appropriate.
If the issue is related to metadata, you may be able to resolve it without uploading an entirely new build. Apple specifically notes that metadata issues can sometimes be resolved by updating the metadata and resubmitting the same build.
How To Respond To An App Store Rejection
Your response to Apple should be factual, concise, and focused on the exact issue.
Start by identifying what Apple says is wrong.
Then explain what you changed or clarify why your app already complies.
If the reviewer needs instructions to access a feature, provide them clearly.
For example, if the reviewer says a feature cannot be accessed, do not simply respond with “The feature works.”
Explain where the reviewer should go, which account to use, which menu to open, and what they should expect to see.
If you made a correction, explain what changed.
Good communication can save time because it gives the reviewer the context needed to evaluate the updated submission.
Can You Appeal An App Store Rejection?
Yes.
If you believe Apple misunderstood your app’s concept or functionality, or you believe the review outcome was unfair, Apple provides an appeal process through the App Review Board.
An appeal should not be your first response to every rejection.
If Apple identifies a legitimate issue, fixing the issue is usually more practical than arguing with the reviewer.
An appeal makes more sense when you have a strong reason to believe the review decision does not accurately reflect your app or the applicable guideline.
Can You Request An Expedited App Review?
Apple allows developers to request expedited review when they have a critical timing issue.
However, Apple asks developers to use expedited review only when it is genuinely necessary. Abuse of the process can affect your ability to make such requests in the future.
A product launch deadline alone should not become an excuse to rely on expedited review.
The better approach is to submit early enough that normal review time does not put your launch at risk.
What Happens After Your App Is Approved?
Approval does not always mean your app appears instantly on the App Store.
After approval, your app can enter the distribution stage depending on your release settings.
Apple allows developers to choose different release options, including automatic release, manual release, or phased release for eligible updates.
Apple also notes that it can take up to 24 hours for an approved app to appear across all selected storefronts.
So your launch timeline should account for both review and App Store availability.
Automatic Vs Manual Release
You can decide how your app should be released after approval.
With automatic release, the app can become available according to the selected release configuration after approval.
With manual release, you retain control over when the approved version becomes available.
This can be useful when coordinating an app launch with a website update, marketing campaign, product announcement, or other business activity.
Apple also supports phased releases for eligible app updates, allowing developers to gradually roll out an update over a seven-day period.
How AppNatively Can Simplify The App-Building Side
For businesses that already have a website and want to launch native mobile apps, the challenge is not only App Store review. Building, testing, maintaining, and preparing separate iOS and Android applications can require significant development resources.
AppNatively takes a different approach by allowing businesses to turn their websites into native mobile apps without building the entire mobile experience from scratch.
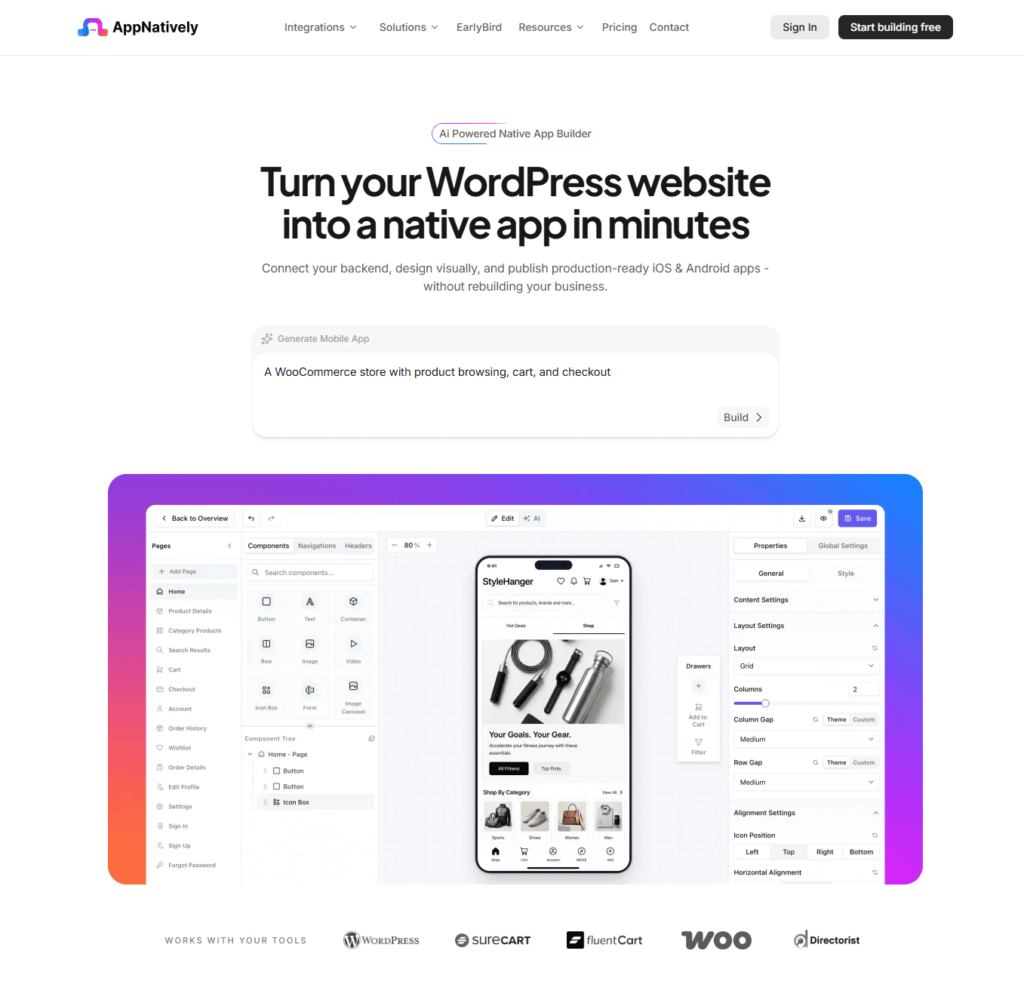
For businesses using WordPress and WooCommerce, this can make the transition from website to mobile app considerably simpler.
The important distinction is that using an app builder does not remove Apple’s review requirements. Your final app still needs to provide a quality mobile experience and comply with Apple’s current guidelines.
A good app-building workflow should therefore include testing, production configuration, review information, accurate metadata, and App Store submission preparation rather than stopping once the app has been generated.
How To Reduce Your Chances Of App Store Rejection
The best way to reduce rejection risk is to treat App Review as part of development rather than something that happens after development.
Start by reviewing Apple’s current guidelines before building features that may involve payments, subscriptions, user-generated content, privacy-sensitive functionality, authentication, or regulated categories.
Then test the complete app as an external user would.
Do not only test the happy path.
Try signing out and signing back in. Test slow network conditions. Test different screen sizes. Test notifications. Test account creation. Test password resets. Test purchases. Test deep links. Test permissions. Test every important button.
If something requires a login, provide working credentials to App Review.
If a reviewer needs special instructions, provide them.
If a feature requires a server, make sure the server is available during review.
If a feature is not ready, do not advertise it as if it is.
App Store Review Checklist
Before clicking Submit for Review, verify that the app launches successfully and does not crash.
Confirm that the submitted build is the correct production build.
Check that the App Store description accurately represents the current app.
Make sure screenshots and previews match the current user experience.
Verify that required privacy information and permissions are properly configured.
Confirm that login credentials and review instructions work.
Test all core features from beginning to end.
Check external links and APIs.
Verify that payment and subscription functionality follows Apple’s applicable rules.
Review your app against the current App Review Guidelines.
Finally, make sure your team is available to respond if Apple requests clarification.
App Store Review Process: A Simple Example
Suppose you own an online directory website and want to launch an iOS app.
You first create the mobile app and connect it to your production services.
You then test account registration, directory search, filters, listing details, maps, payments, notifications, and other core features.
Next, you create your App Store listing and upload the required metadata and screenshots.
If users need an account to access certain features, you create a working demo account for Apple and explain how to access those features in App Review Information.
You upload the build and select it for the appropriate app version.
After clicking Add for Review, the app reaches Ready for Review.
You then click Submit for Review.
The status changes to Waiting for Review. When Apple begins evaluating the submission, it becomes In Review.
If everything complies with the guidelines, the submission can be accepted.
If Apple identifies an issue, the app can be rejected. You then read the rejection message, resolve the problem, communicate with App Review if necessary, and resubmit.
This cycle is normal.
The goal is not to make your first submission perfect through guesswork. The goal is to prepare carefully enough that your submission gives Apple everything needed to evaluate the app efficiently.
Final Thoughts
The App Store review process does not have to be mysterious.
The basic workflow is straightforward: build a reliable app, test it thoroughly, follow Apple’s current guidelines, provide complete and accurate information, submit the correct build, monitor the review status, and respond professionally if Apple identifies an issue.
The biggest mistake is treating App Review as a final approval gate that happens independently of development.
Instead, build with review requirements in mind from the beginning.
When your app is functional, your metadata is accurate, your review instructions are complete, and your team understands Apple’s requirements, you give yourself a much better chance of moving from Submit for Review to Ready for Distribution without unnecessary delays.
Apple’s official App Review resources and guidelines should remain your source of truth because requirements can change over time.
Frequently Asked Questions
What Does “Waiting For Review” Mean?
It means Apple has received your submission, but the review has not started yet. The status changes to In Review once the review begins.
What Does “In Review” Mean On The App Store?
It means your submission is actively being evaluated by App Review.
Can I Talk To Apple About A Rejection?
Yes. App Store Connect provides a way to communicate with App Review and provide additional information or supporting material.
Can I Appeal A Rejection?
Yes. Apple provides an App Review Board appeal process if you believe the review decision was incorrect or unfair.
Can I Request An Expedited Review?
Yes, but Apple recommends using expedited review only when there is a critical timing issue.
Does App Store Approval Mean My App Is Immediately Live?
Not necessarily. Your release settings determine how the approved app is released, and Apple notes that it can take up to 24 hours for an app to appear across all selected storefronts.