How to Create a Multi-Step Popup Campaign
Md Hamim Khan
Md Hamim Khan is the Co-Founder and Marketing…
In this article
Asking for too much too soon doesn’t work. Just like proposing marriage on the first date often leads to rejection, showing a long form immediately can push visitors away.
Long forms create friction. When visitors see too many fields at once, they hesitate, feel overwhelmed, and leave, even if they like the offer.
OptinCraft’s Multi-Step Campaign fixes this by starting small. You begin with a simple Yes/No question or one button click, then show the form only after the visitor engages.
In this guide, we’ll show you how to create a multi-step popup campaign that feels easy and converts better. Before digging deeper, let’s know about multi-step campaign and when to use it.
What Is a Multi-Step Campaign?
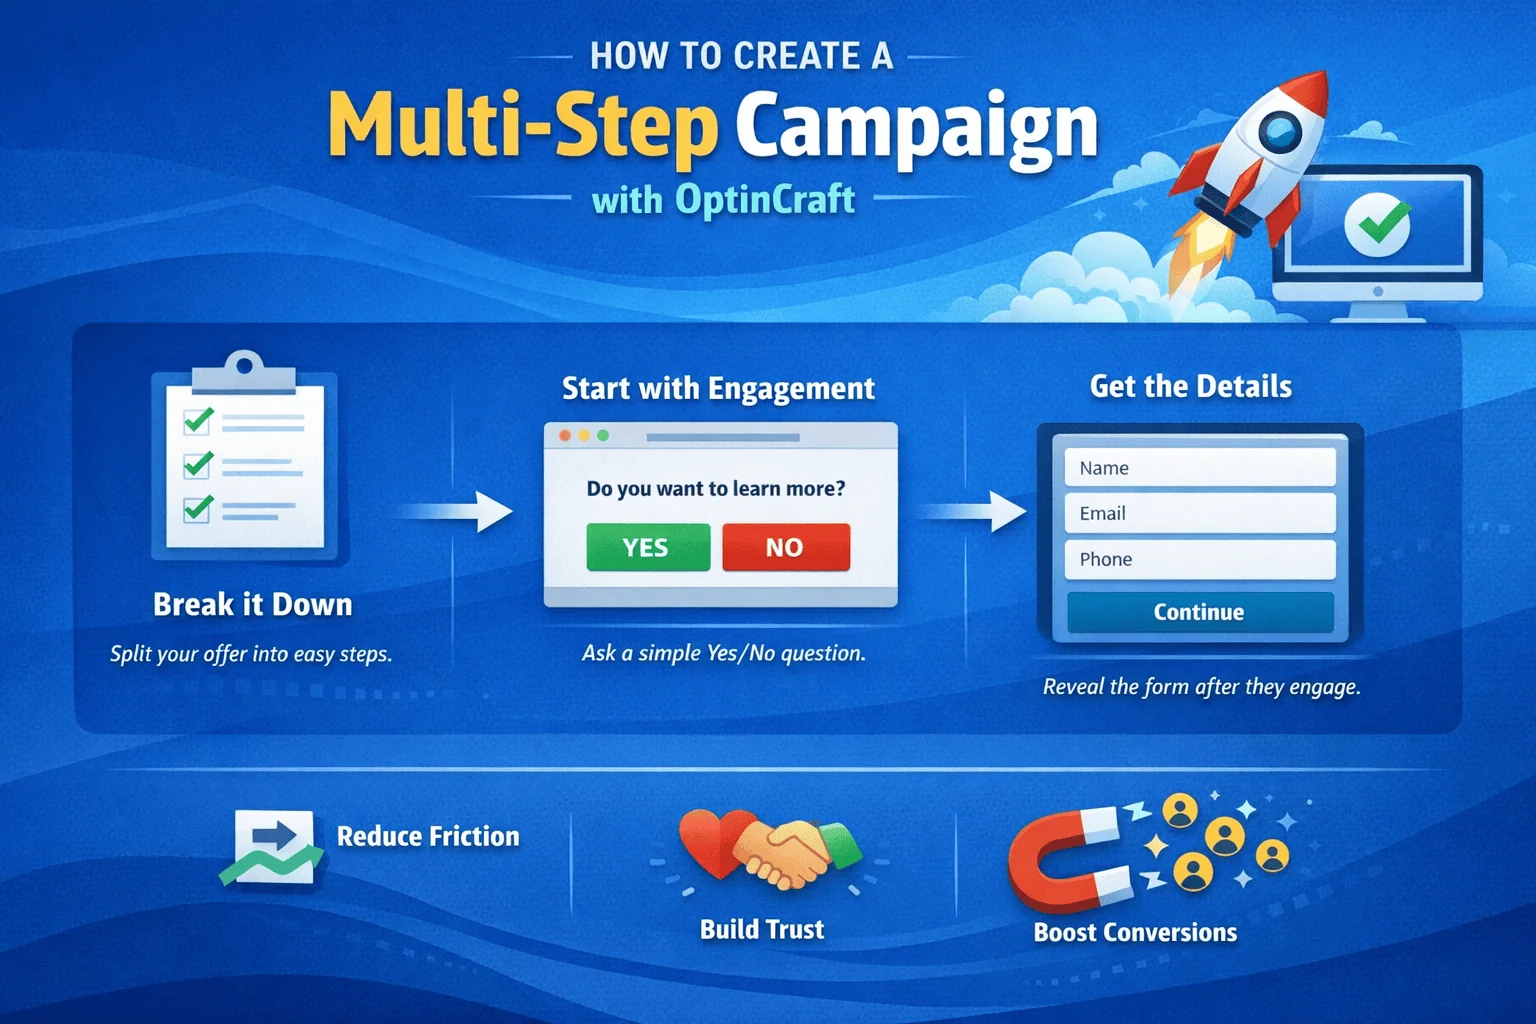
A multi-step campaign is a conversion strategy that breaks the opt-in process into smaller, easier steps instead of showing a long form upfront.
Rather than immediately asking visitors for their name, email, or phone number, it starts with a simple action like a Yes/No question or a single button click. This first step creates a small commitment and reduces hesitation.
Once the visitor engages, the campaign moves to the next step and reveals the opt-in form. This approach feels more natural, lowers friction, and helps increase conversions by guiding users one step at a time.
When to Use a Multi-Step Campaign
You should use a multi-step campaign whenever you want to increase engagement and conversions without overwhelming your visitors.
Here are common scenarios:
- Lead Generation: Capture emails, phone numbers, or other contact info in a smooth, step-by-step way.
- Offers and Discounts: Present a small question or teaser first, then reveal the deal after the visitor shows interest.
- Content Downloads: For ebooks, guides, or resources, start with a simple “Do you want this?” before asking for details.
- Event Signups: Encourage registrations by starting with a quick yes/no or button click before showing the full form.
Essentially, use a multi-step approach anytime you want to reduce friction, increase engagement, and get higher conversions.
How to Create a Multi-Step Campaign with OptinCraft
Here’s a step-by-step guide on how to set up and launch a multi-step campaign using OptinCraft.
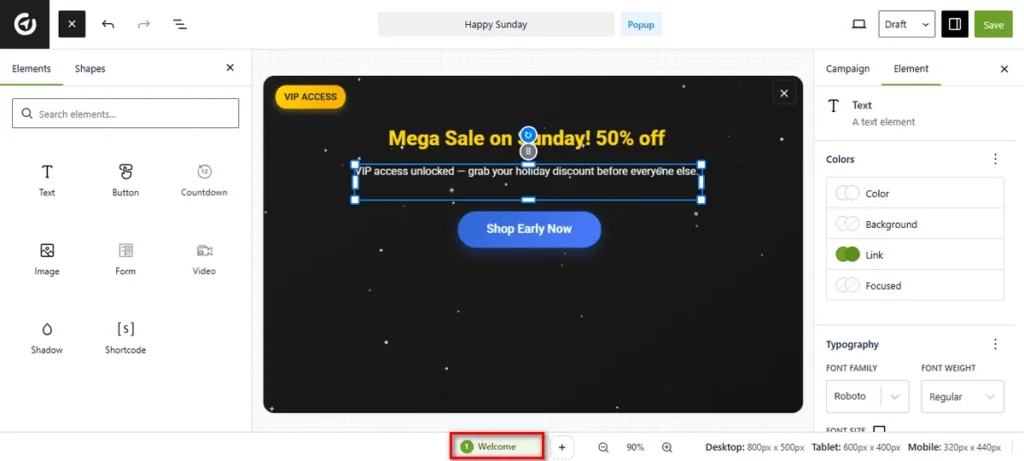
First, create a new campaign or open an existing one inside the Canvas Builder. Look at the bottom of the screen, where you will see your current step labeled (e.g., Welcome).
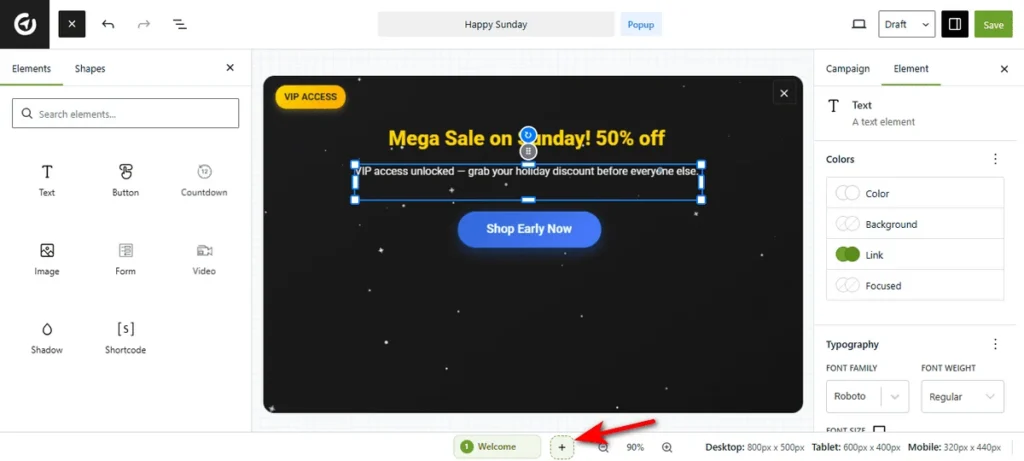
Design the 1st step according to your requirements, and once you’re done, click the + (Plus) icon next to the active step tab to add another step to your multi-step campaign.
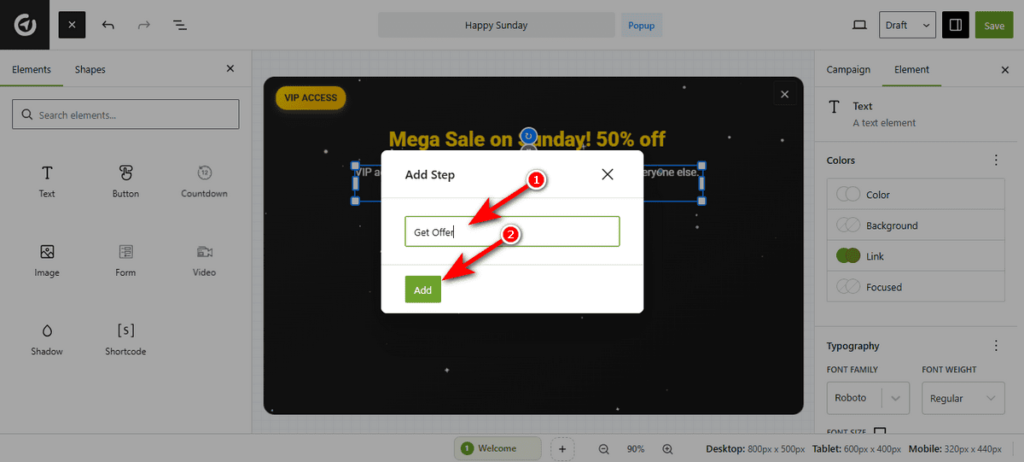
Now, you’ll see a modal window titled “Add Step“. Type a clear name for this new section, such as “Step 2” or “Thank You“. Then, click the ‘Add’ button to generate a new blank step.
Connect Your Steps
Now that you’ve created a blank step, but that is not enough; you must tell OptinCraft how to send visitors there.
You can trigger the next step using a Button, a Form, or a Countdown timer.
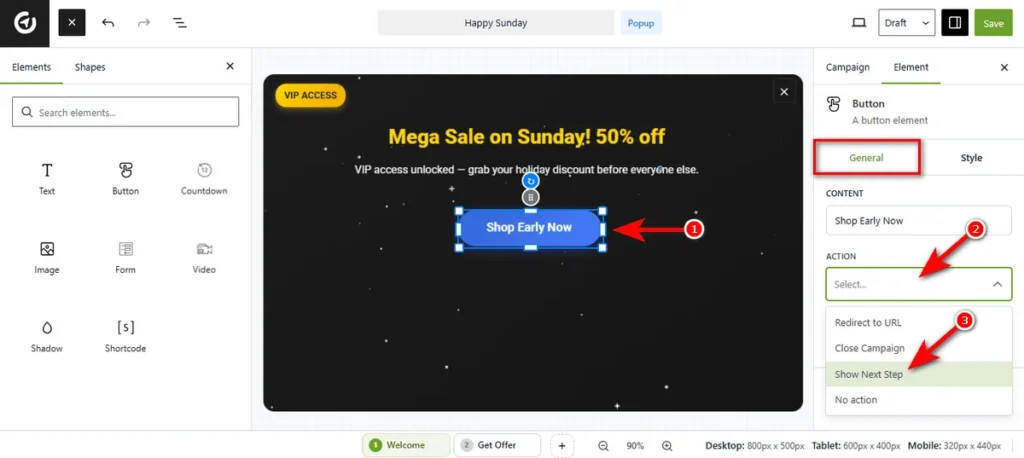
Option 1: Use a Button
This is best for segmenting users before showing a form.
- Click on the Button element in your canvas to open its settings.
- Head over to the Action dropdown menu in the right sidebar.
- Choose Show Next Step.
- Now, clicking this button will instantly advance the user to the next screen.
Additionally, you can toggle the “TRACK CONVERSION” switch to On if you want this specific click to count as a ‘Conversion’ in your analytics.
You can also turn on the “SHOW ICON” button to add a visual icon to your button. Once enabled, hit the Select Icon button to choose a symbol that matches your text (e.g., an arrow or checkmark).
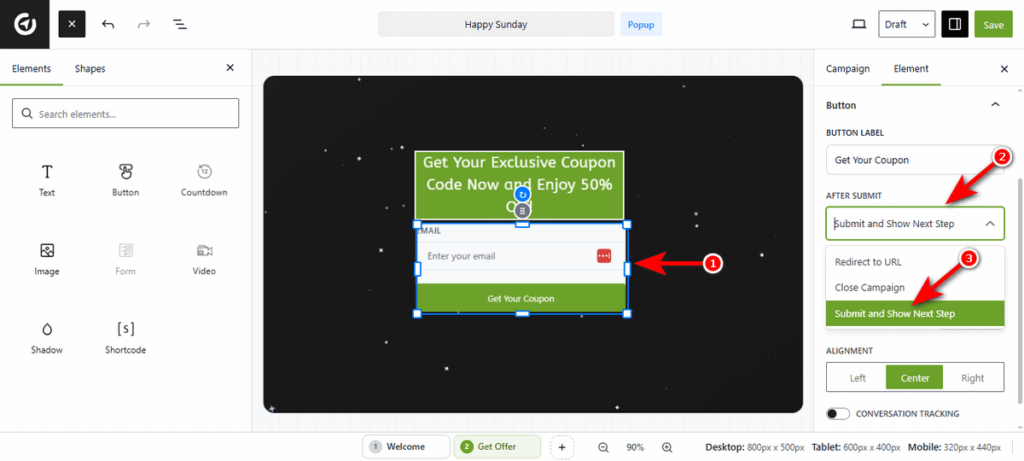
Option 2: Utilize a Form
This is perfect for collecting a lead in Step 1 and showing a “Download Now” button or “Thank You” message in Step 2.
- Click on your Form element to activate the settings.
- Locate the After Submit dropdown menu.
- Select Submit and Show Next Step.
- This ensures the data is saved before the user moves forward.
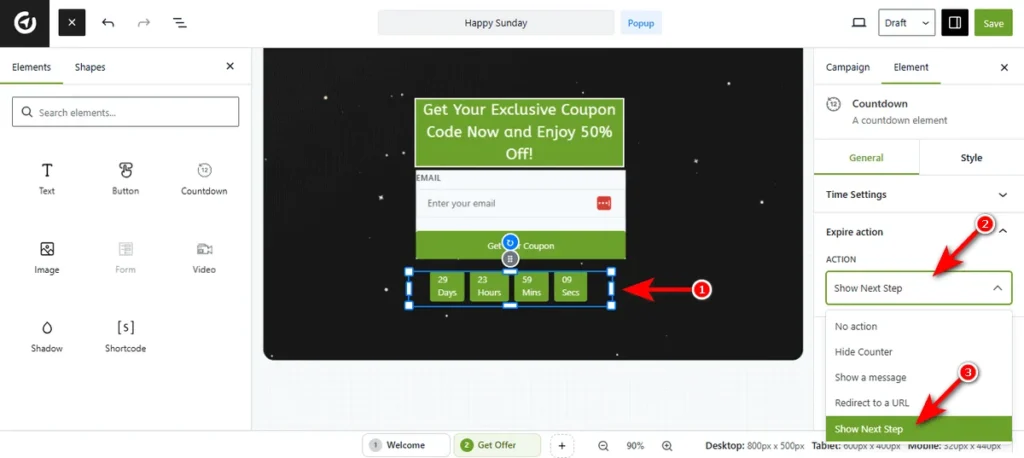
Option 3: Use a Countdown
You can auto-switch the pop-up content when a timer runs out (e.g., switching from a “50% OFF” offer to a “Sale Ended” message).
You can set a timeout for your target users. Once the timer ends, users will automatically proceed to the next step.
- Click on the Countdown element.
- Expand the Expire action menu settings.
- Select Show Next Step from the Action dropdown.
Manage Your Steps
You can keep your campaign organized by renaming or copying steps. To do that, simply click the three-dot icon on any step tab at the bottom bar.

Then, select ‘Rename’ to give the step a descriptive label. Choose ‘Duplicate’ to create an exact copy of the current design. This saves time if your second step looks similar to the first. Select ‘Delete’ to delete a step.
So, that’s how you build a high-converting multi-step funnel in OptinCraft.
Final Thoughts
Creating a multi-step campaign with OptinCraft transforms the way you engage your visitors. By breaking your offer into small, interactive steps, you reduce friction, build trust, and guide users naturally toward conversion. Starting with a simple micro-commitment like a Yes/No question or single button click warms up your audience and makes them more likely to complete your form.
With OptinCraft’s intuitive Multi-Step Campaign feature, you can craft a seamless, high-converting experience that turns casual visitors into engaged leads, all without overwhelming them upfront.
Share this blog:
About Md Hamim Khan
Md Hamim Khan is the Co-Founder and Marketing Team Lead at Crafium, where he drives growth strategies for digital and software products. With over 5 years of hands-on experience in digital marketing within the tech industry, he specializes in building visibility, demand, and sustainable brand presence. Beyond work, Hamim enjoys researching emerging digital products and unwinding on the cricket field, balancing strategic thinking with an active lifestyle.