The After Inactivity trigger allows you to display a popup when a visitor stops interacting with your website for a specified period. This is an effective way to re-engage idle users and guide them back into taking action.
Before you begin, ensure that OptinCraft latest version is installed and activated on your WordPress site.
1.1 Setting Up the After Inactivity Popup #
Follow the steps below to create a popup that appears after user inactivity:
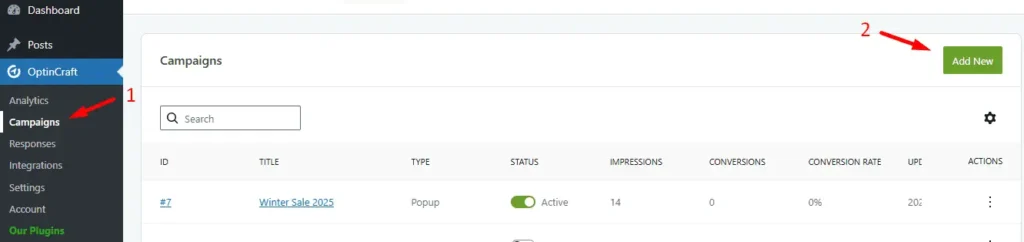
At first, go to your WordPress dashboard, then navigate to OptinCraft > Campaigns, then Click Add New.
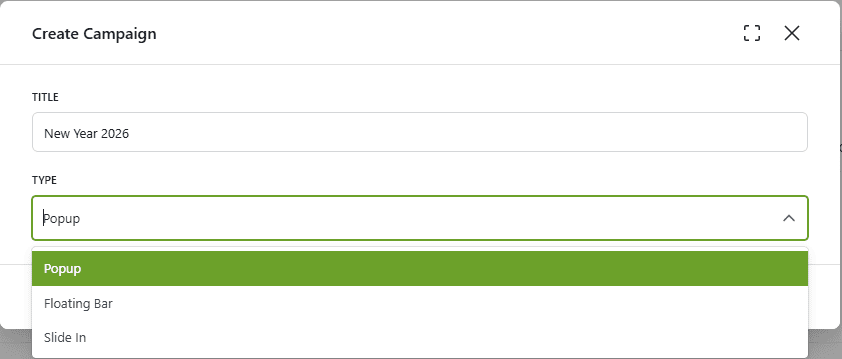
Up next, enter a title for your campaign. Then, select Popup as the campaign type.
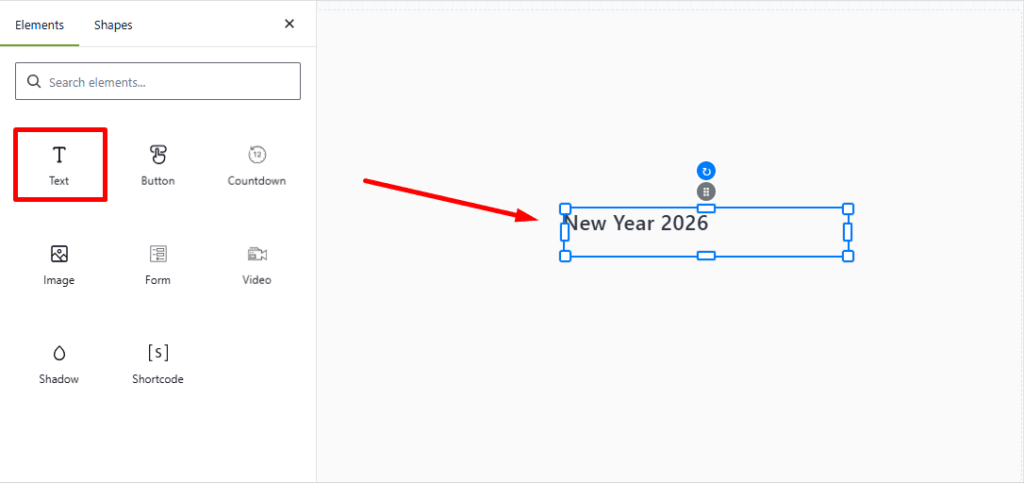
The OptinCraft editor interface will load. Click on Texts to access the available popup elements.
Choose a text element and add it to your popup design.
Next, configure the inactivity trigger settings:
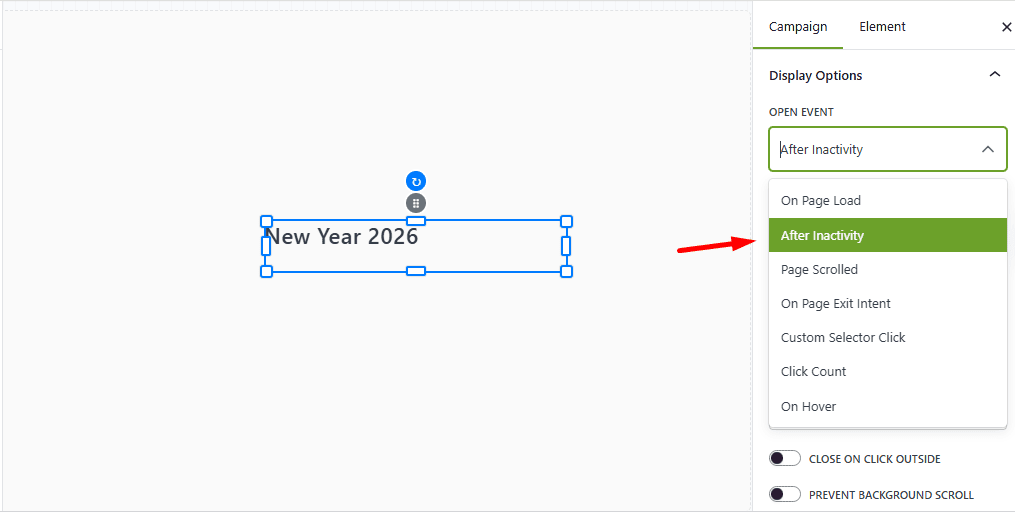
In the editor, locate the Campaign panel at the top-right corner. Then, scroll down to Display Options.
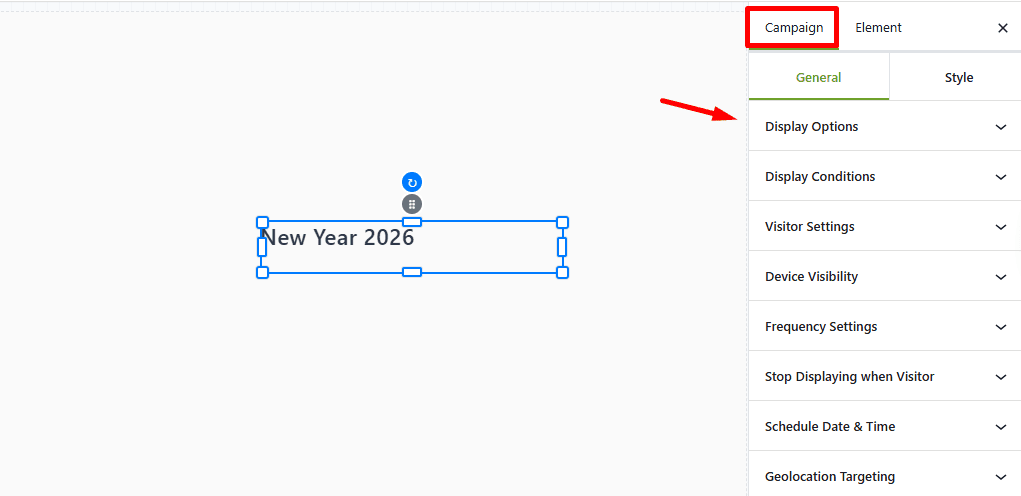
Up next, from the Open Event dropdown, select After Inactivity.
Set the After Inactivity Time (s)—this is the number of seconds of no user activity after which the popup will appear.
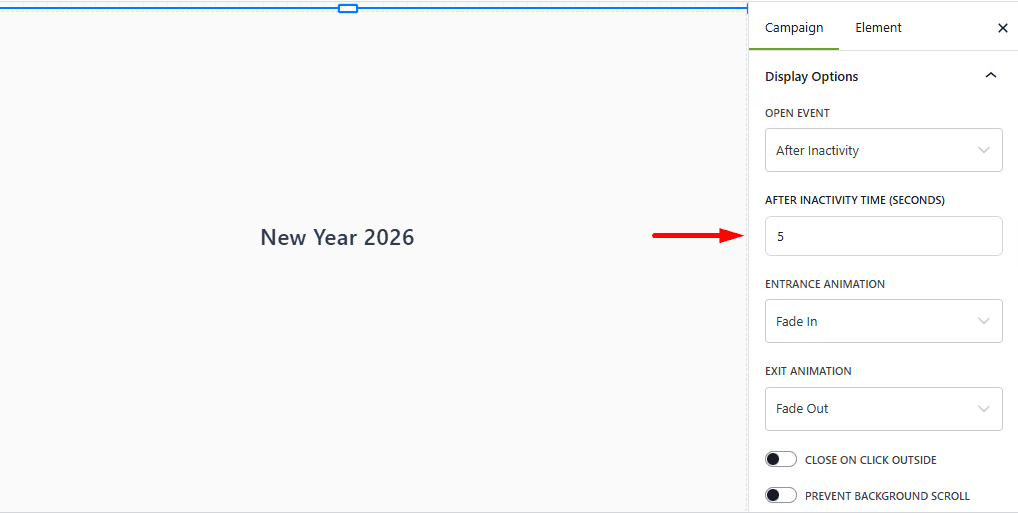
Once saved, your popup will automatically trigger whenever a visitor becomes inactive on your website.


