In this documentation, we’ll show you how to easily install X-Currency on your WordPress site.
Follow the steps below carefully to ensure a smooth installation and setup process.
Before we begin, make sure you have the following things in place:
Minimum requirements #
- A working WordPress installation
- X-Currency plugin
- WooCommerce plugin
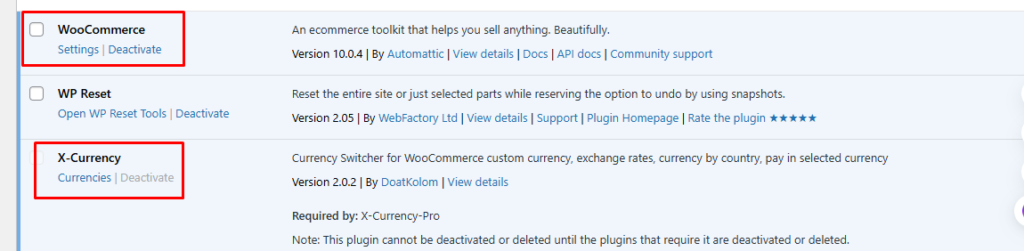
Installing & Activating X-Currency #
To get started with X-Currency, you’ll first need to install and activate the plugin on your WordPress site.
You can install X-Currency in two different ways:
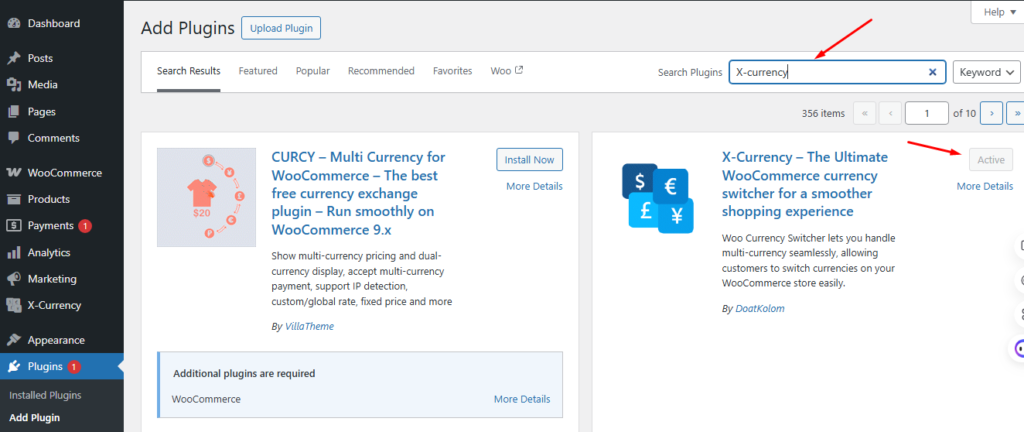
From the WordPress Dashboard
- Log in to your WordPress admin panel.
- Go to Plugins → Add New.
- Search for X-Currency in the search bar.
- Click Install Now, then click Activate once installation is complete.
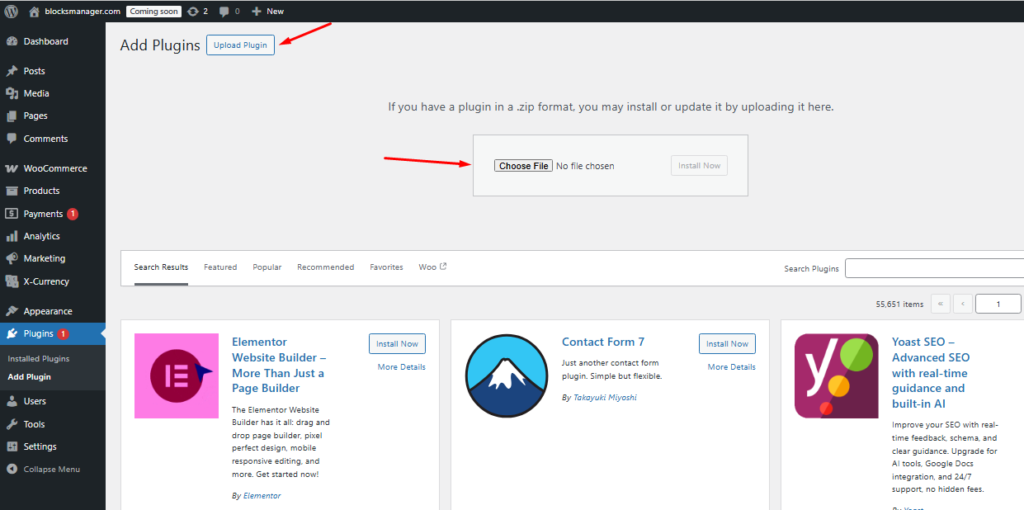
By Uploading the Plugin File
- Download the X-Currency plugin ZIP file from WordPress.org.
- In your WordPress admin panel, go to Plugins → Add New → Upload Plugin.
- Click Choose File, select the ZIP file, and click Install Now.
- Once uploaded, click Activate Plugin.
After activation, you can start configuring X-Currency from the plugin’s settings page in your dashboard.
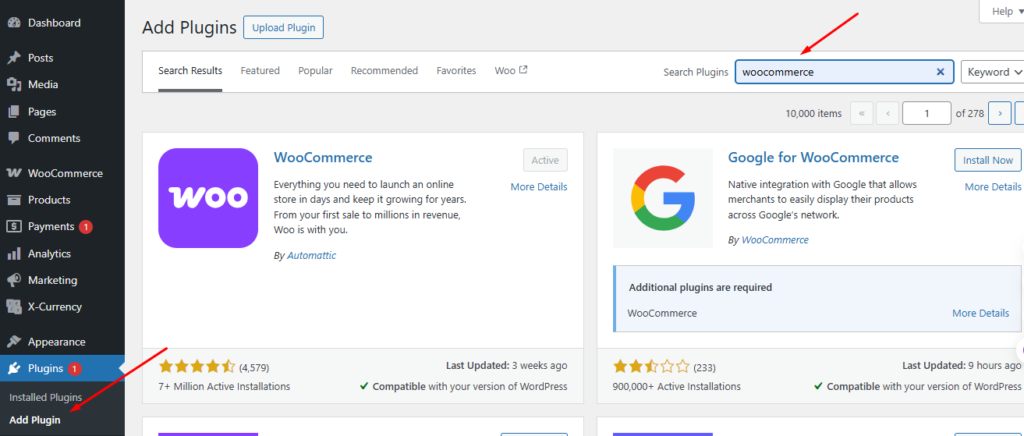
Up next, you need to install WooCommerce on your WordPress website.
To install it, navigate to Dashboard → Plugins → Add New.
Then, search WooCommerce, click Install Now, then Activate.
Finally, complete the setup wizard.
Now, your X-Currency Plugin and WooCommerce are all set.